
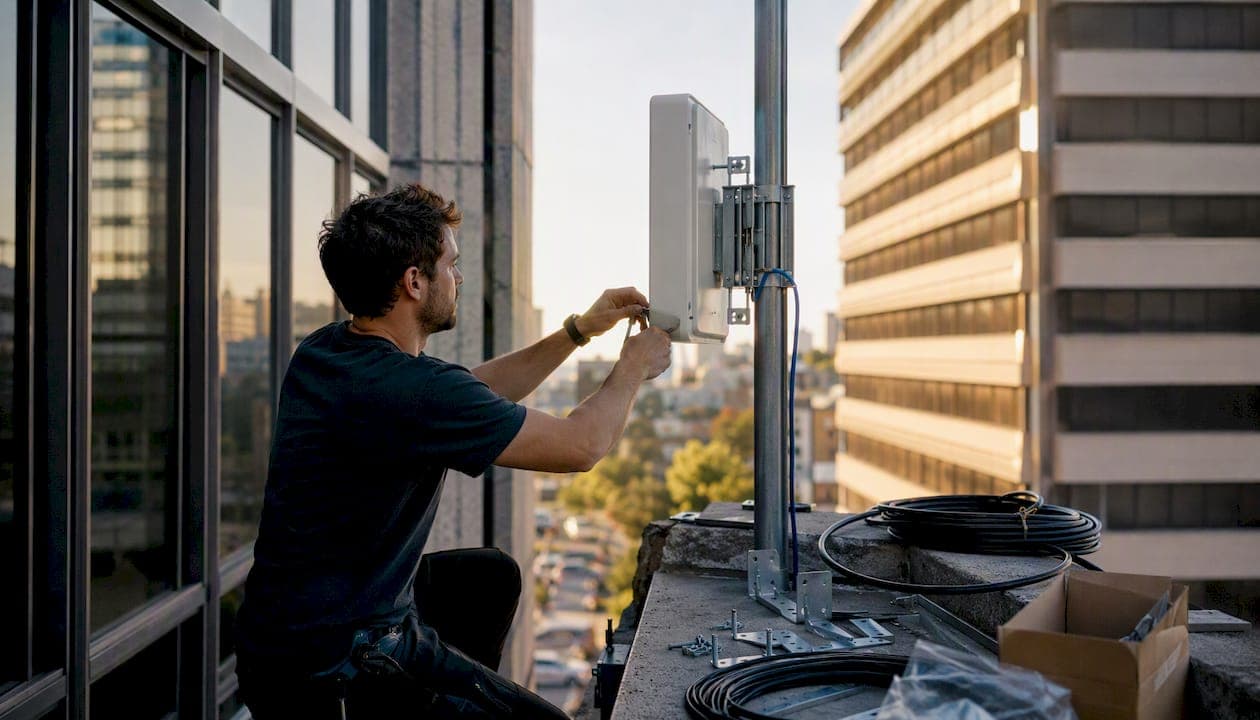
Point to point WiFi is a directional wireless link that connects two networks across open space instead of trenching cable between them. If the path is short and clear, a competent DIYer can mount two radios and get a working link in an afternoon. If the distance stretches past a few hundred meters, the path has obstructions, or the link carries something that can't afford downtime (CCTV backhaul, a business network, a security system), hiring an installer who runs a proper site survey and Fresnel zone analysis is the difference between a link that works in testing and one that survives its first storm.
The decision hinges on three things: line-of-sight clarity, the distance you're bridging, and what happens if the connection drops. A hands-on test from Ars Technica showed that bridging two nearby buildings can be done cheaply and simply when the path is short and unobstructed. That's the DIY end of the spectrum. On the other end sits commissioning: ping tests, throughput verification, and signal-to-noise checks that professional installers run before calling a job done. Somewhere in the middle is where most readers land, and that's what the rest of this guide is for.
Table of Contents
- What Is Point to Point WiFi and How Does It Work?
- When Should You Use a Point to Point WiFi Link?
- What Hardware Specs Actually Matter?
- How Do You Install a Point to Point WiFi Link?
- How Do You Secure a Point to Point Wireless Bridge?
- Why Do Point to Point Links Fail and How Do You Fix Them?
- What Does Point to Point WiFi Cost and How Long Does Installation Take?
- How Do You Choose the Right Hardware or Installer?
- Why Does Professional Installation Matter for Longer or Critical Links?
- Get a Site Survey and Quote for Your Point to Point WiFi Link
- Sources
What Is Point to Point WiFi and How Does It Work?
A point-to-point WiFi link, also called a wireless bridge, uses two directional radios facing each other to move network traffic through the air instead of through a cable. One end plugs into your existing network, the other end plugs into the remote network, and to every device on both sides, it looks like a single continuous LAN. Ruijie Reyee's technical documentation describes this in terms of operating modes, most commonly root/non-root pairs or AP-to-client configurations, where one radio acts as the access point and the other joins it as a dedicated client.
The physics that make or break the link come down to line-of-sight (LOS) and something called the Fresnel zone. LOS means exactly what it sounds like: if you can't draw a straight line between the two antennas without hitting a tree, a roofline, or a hill, the signal degrades or fails outright. The Fresnel zone is the elliptical volume of space around that straight line that also needs to stay clear, because radio waves don't travel in a perfectly narrow beam. Picture a football shape stretched between your two antenna mounts, widest in the middle of the link. An obstruction poking into that football, even one that doesn't block the direct line of sight, can still cut your signal.
Frequency choice matters just as much. Most point-to-point gear runs on 5 GHz because it offers more channel width and less interference than 2.4 GHz, though it doesn't travel through obstructions as well. Some commercial links use 60 GHz for extremely high throughput over shorter distances, or dip into licensed bands for guaranteed interference-free operation.
A handful of terms show up on every spec sheet and are worth knowing cold:
- LOS (line-of-sight): an unobstructed visual and radio path between the two antennas
- Fresnel zone: the buffer space around the LOS path that also needs clearance
- MIMO: multiple antennas sending and receiving simultaneously to boost throughput
- Antenna gain (dBi): how tightly a directional antenna focuses signal, which extends range
- EIRP (effective isotropic radiated power): the combined output of transmit power and antenna gain, which regulators cap by frequency band
When Should You Use a Point to Point WiFi Link?
Point-to-point links solve a specific problem: getting a reliable network connection somewhere a cable can't easily reach. The most common scenarios are building-to-building internet sharing on a campus or industrial site, backhaul for CCTV camera clusters positioned away from the main network closet, connectivity for a remote gate or entrance station, extending internet across a rural property from a house to a shed or second dwelling, and temporary links for events where running cable isn't practical.
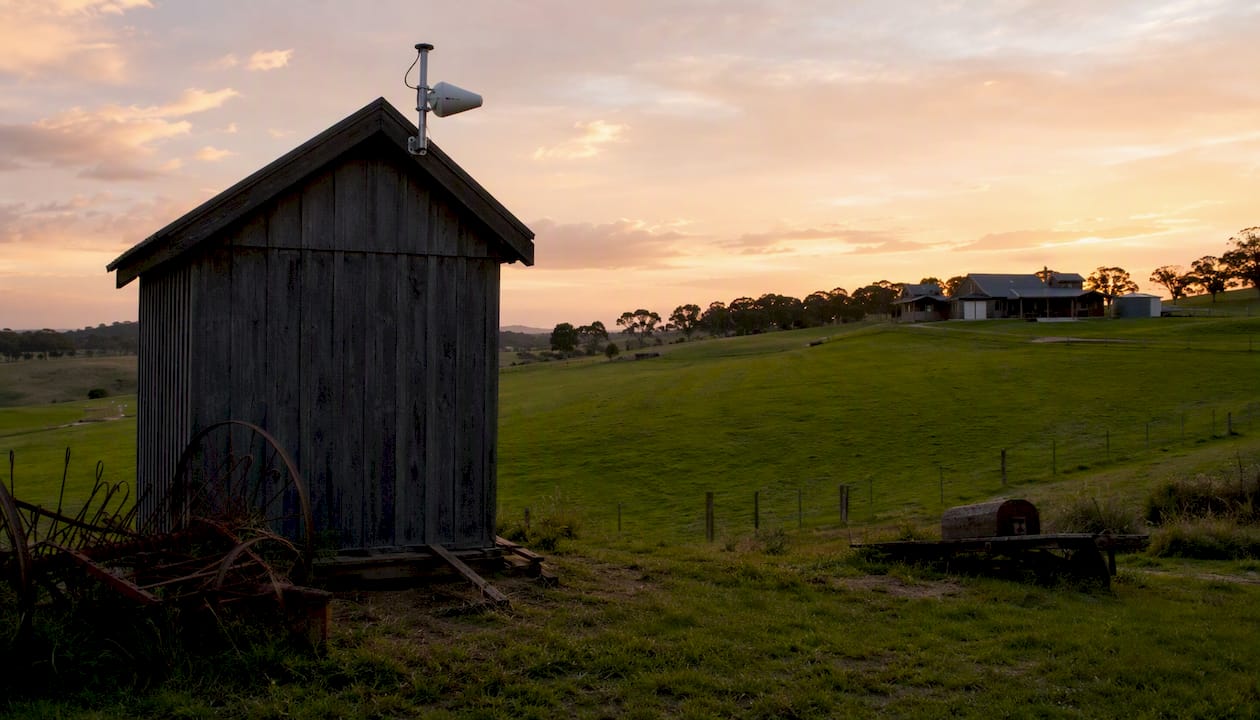
Rural and farm applications deserve a specific mention. A property owner with Starlink at the main residence can often use a point-to-point bridge to push that connection out to a workshop, second house, or equipment shed hundreds of meters away, without digging a trench across a paddock.
That said, point-to-point WiFi has real limits. Obstructed paths, whether from vegetation growth, new construction, or terrain, degrade performance over time even on a link that tested perfectly on installation day. Regulatory power limits cap how far you can push a signal legally. Heavy interference from other wireless gear in a busy commercial area can eat into your throughput. And distances beyond a few kilometers start to demand serious antenna gain, precise alignment, and often a bigger budget than most people expect.
When wired still wins: if the two points you're connecting are less than 100 meters apart and you can legally and practically run a cable, buried or aerial fiber or copper will almost always beat a wireless bridge on reliability and total cost over time. Point-to-point WiFi earns its place when trenching is expensive, impractical, or blocked by terrain, easements, or distance.
What Hardware Specs Actually Matter?
Vendor marketing loves to lead with maximum distance claims, but distance figures are measured in ideal conditions with clear LOS and matched high-gain antennas at both ends. Real-world performance depends on more than any single number on a spec sheet.
| Spec | Why it matters |
|---|---|
| Frequency band | 5 GHz is standard for most point-to-point links; balances range against interference. |
| Antenna gain (dBi) | Higher gain narrows the beam and extends effective range, but demands more precise alignment. |
| EIRP / transmit power | Combined output power that regulators cap by band; more power isn't always usable power. |
| MIMO / spatial streams | More streams generally means more throughput, not more range. |
| Weather rating (IP55/IP66) | Determines how well the radio survives rain, dust, and coastal salt air. |
| PoE and port type | Gigabit Ethernet (GigE) is common; commercial links may need 10GbE for capacity. |
| DFS awareness | Radios that respect Dynamic Frequency Selection avoid interfering with radar systems on shared channels. |
Vendor distance claims are worth reading critically rather than skeptically. D-Link's DAP-3712 advertises up to 20 kilometers of range at up to 867 Mbps with IP66 housing and built-in surge protection rated to 8 kV, numbers that assume a clean, unobstructed path and correctly matched antennas at both ends. EnGenius's ENH500-AX takes a different angle, built around Wi-Fi 6 with beamforming and 2x2 MIMO antennas, aimed at links where spectral efficiency in a busier RF environment matters more than raw maximum distance. For shorter, simpler deployments, TP-Link's Omada EAP215 Bridge kit advertises up to 5 kilometers with app-guided alignment built into the setup process, useful for installers who want less trial and error on the roof. At the enterprise end, GNS Wireless's commercial-grade systems push multi-gigabit aggregate throughput over 10GbE and SFP+ interfaces, built for backhaul where dozens of cameras or an entire office network ride the link.
Pro Tip: Cranking up transmit power to compensate for a marginal path usually backfires. Overdriving power raises the noise floor and can actually reduce usable throughput. A smaller antenna with a cleaner Fresnel zone almost always outperforms a bigger radio pointed through obstructions.
How Do You Install a Point to Point WiFi Link?
Getting a bridge from box to working link follows a predictable sequence, and skipping steps is where most DIY installs run into trouble months later rather than on day one.
- Run the site survey. Confirm LOS and Fresnel zone clearance between the two mounting points, ideally with binoculars or a laser range finder rather than a guess. Check for existing RF interference with a spectrum scan before committing to a channel.
- Choose and prep the mounting points. Poles, roof brackets, or wall mounts need to hold steady in wind and give you a clean angle toward the other end. Confirm access for future maintenance before anything goes permanent.
- Run outdoor-rated cabling. Shielded Ethernet built for outdoor exposure resists UV degradation and moisture far better than indoor cable pulled outside as a shortcut. Route it to a PoE injector or switch that can supply the radio's power requirements.
- Align the antennas. Coarse alignment gets you close; fine alignment is where the link quality actually comes from. Many modern radios include alignment LEDs or a mobile app that reports signal strength and modulation rate in real time, taking much of the guesswork out of the process.
- Commission and document the link. Run a ping test to confirm basic connectivity, then a throughput test under load to confirm the link delivers what you expect. Cisco's configuration example for wireless bridges walks through exactly this kind of verification, checking signal-to-noise ratio and confirming the link with ping tests before considering a bridge production-ready. Lock in a fixed channel rather than leaving auto-select on, and write down your settings somewhere you'll find them again.
Pro Tip: Avoid auto-channel selection on any link you actually depend on. Auto-select can hop to a worse channel the moment interference shows up, right when you need stability most. Pick a fixed channel with DFS awareness after your spectrum scan, and only revisit it if conditions genuinely change.
How Do You Secure a Point to Point Wireless Bridge?
A wireless bridge that isn't locked down is a wireless bridge that anyone with a compatible radio and enough patience could try to access. Treat the security configuration with the same seriousness as a wired connection, because the airborne segment is the part a wired network never has to worry about.
Start with strong encryption and authentication on both ends. Enterprise-grade options, including WPA2/WPA3-Enterprise with a RADIUS server, are worth the setup effort on any link carrying business or security traffic. Isolate the bridge on its own VLAN, or route management traffic through a VPN, so a compromised radio can't become a doorway into your main network.
Turn off management services you're not using. Telnet, unencrypted web admin, and default SNMP strings are the kind of thing that gets found during a security audit for the wrong reasons. Restrict management access to specific IP addresses or an out-of-band management path, keep firmware current, and log link activity so you notice a problem before it becomes an outage.
Pro Tip: Set up a dedicated management VLAN or a VPN tunnel for configuration access before you need to troubleshoot remotely at 11 p.m. in the rain. Future you will be grateful.
Why Do Point to Point Links Fail and How Do You Fix Them?
Most link failures trace back to one of a handful of causes, and working through them in order saves a lot of time.
- Check power and PoE first: a radio with no power looks identical to a radio with a bad connection from a distance.
- Inspect physical alignment, especially after storms or high wind, since even a small shift can tank signal quality on a tightly focused link.
- Look for dirty or corroded connectors, a common failure point on outdoor gear that hasn't been resealed properly.
- Check link speed and status LEDs on the Ethernet port; a radio talking wirelessly but not passing traffic often points to a cabling or switch issue, not the RF link itself.
- Run a spectrum scan if performance has degraded gradually rather than suddenly, since new interference sources (a neighbor's radio, a new WiFi deployment nearby) creep in over time.
When the quick checks don't resolve it, escalate to modulation and signal-to-noise testing to see exactly where the link is losing quality, and consider whether physical re-mounting or a channel change is overdue.
A simple maintenance rhythm heads off most of this before it happens: a seasonal visual inspection of mounts and cabling, resealing outdoor connectors that show any sign of wear, keeping firmware updated, and a specific post-storm check after any severe weather event. Improperly sealed connectors are one of the most common causes of early link failure, letting moisture in that corrodes contacts over months rather than causing an obvious immediate fault.
What Does Point to Point WiFi Cost and How Long Does Installation Take?
Hardware costs vary widely by range and capacity requirement. Entry-level consumer bridge kits, the kind sold for short backyard or small-property links, run in the low hundreds of dollars per pair, with retail listings for basic outdoor units advertising ranges around 3 kilometers for straightforward point-to-point use. Prosumer and small-business gear, like the D-Link and TP-Link kits mentioned earlier, generally sits in the mid hundreds to low thousands per pair depending on rated distance and throughput. Commercial-grade systems built for multi-gigabit enterprise backhaul push into the thousands per pair once you add high-capacity radios and 10GbE interfaces.
Those figures are hardware only. Professional installation adds cost for the site survey, mounting hardware and labor, outdoor-rated cabling, and the commissioning process itself, and that's exactly why a professional quote tends to run higher than the sticker price on the radios alone. You're paying for the Fresnel zone analysis that catches a problem before it's on the roof, not just for someone to bolt two boxes in place.
Timeline-wise: a short, simple DIY link with clean LOS over a few hundred meters can realistically go from unboxing to working connection in a single day. Professional installs for longer distances, obstructed paths, or mission-critical traffic like CCTV backhaul typically take longer, often spanning a dedicated site survey visit followed by a separate installation and commissioning day, particularly when structured cabling or network infrastructure work is part of the scope.
How Do You Choose the Right Hardware or Installer?
Before comparing quotes or products, get clear on your own requirements: the actual distance you need to cover, the throughput your application demands (a single security camera needs far less than a multi-camera cluster or an office network), the weather exposure at your site, and whether the link is carrying anything mission-critical.
Once you know what you need, a shortlist checklist keeps the comparison honest:
- Confirm required range and throughput against your actual use case, not the vendor's best-case marketing number.
- Check the weather rating (IP55 or better for most outdoor mounts) against your climate and exposure.
- Verify surge protection is built in or specified separately, especially in storm-prone regions.
- Ask what management options exist for remote troubleshooting.
- Confirm firmware update policy and warranty length before you buy.
If you're hiring an installer rather than doing it yourself, the questions to ask are just as concrete:
- Do you perform a site survey and Fresnel zone analysis before quoting, or just eyeball it?
- Is surge protection and proper grounding included in the installation?
- What commissioning tests do you run, and do I get documentation of the results?
Red flags worth walking away from: a quote with no mention of a site survey, no testing plan, no surge protection, or a vague warranty with no defined response time if something fails. Those omissions tend to show up later as an outage, not as a line item you can negotiate.
Why Does Professional Installation Matter for Longer or Critical Links?
The value of a professional installer shows up in two phases. On day one, it's the accuracy of the site survey and Fresnel zone modeling, precise physical alignment that gets the most out of the hardware, a spectrum scan to pick a channel that won't fight for airspace, and a check that the setup complies with local power and frequency regulations.
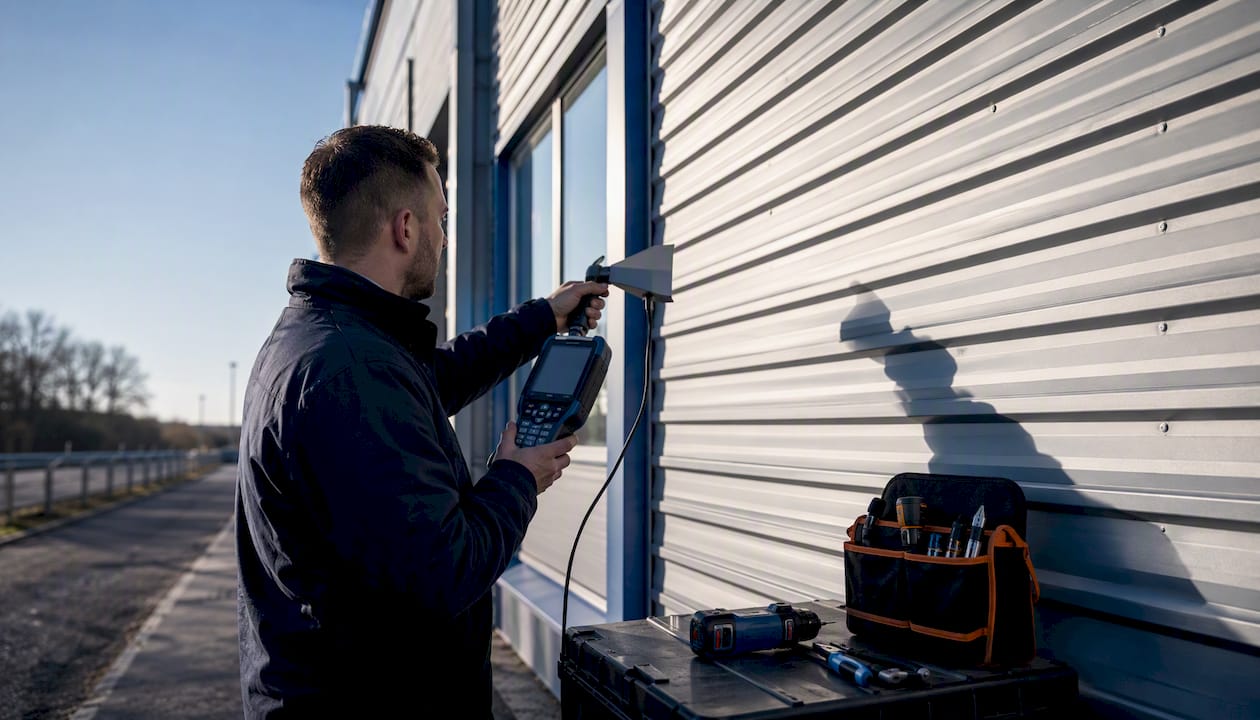
Longer term, it's the things that don't show up until they matter: proper surge protection and earthing that saves the radio during the next lightning storm, documented commissioning test results you can hand to an insurer or auditor, and a warranty with an actual support path if something fails six months in. For a link carrying CCTV footage or business traffic, downtime isn't just an inconvenience, it's a liability.
This is where Djcengineering's approach is built around accredited installation with a 98% first-visit fix rate, meaning jobs get scoped and done right the first time rather than requiring a callback. The team handles the full scope directly, without subcontractors, covering everything from the initial site survey through commissioning, and extends into related work like Starlink and NBN integration and structured cabling when a project needs more than just the wireless link itself.
An Installer's View on What Actually Goes Right
A rural property with a shed 400 meters from the main house is a job we see often, and the ones that go smoothly all share the same pattern: a proper survey catches the one tree that would've clipped the Fresnel zone in five years, the mount goes somewhere that survives the next storm, and the commissioning report gives the owner a number to compare against if the link ever seems slower. The jobs that go badly are the ones where someone skipped straight from unboxing to mounting, and the fix six months later costs more than the survey would have.
Get a Site Survey and Quote for Your Point to Point WiFi Link
If your project involves a longer distance, an obstructed path, or traffic you can't afford to lose, a professional install is the lower-risk route, and it's exactly what Djcengineering delivers for properties across South East Queensland. The process runs from site survey through engineering design, mounting, outdoor-rated cabling, alignment, and full commissioning, with documentation you keep afterward.

Unlike a DIY kit where you're troubleshooting alone if the Fresnel zone turns out to be wrong, Djcengineering's installs come with a 98% first-visit fix rate and no subcontractors passing the job around. That matters most on links carrying CCTV, business network traffic, or anything where a dropped connection is more than a minor annoyance. If the job also needs structured cabling or a Starlink or NBN feed distributed across the property, that scope gets handled under the same visit rather than a second contractor.
Ready to find out what your site needs? Request a quote or schedule a site survey and get a plan specific to your building, distance, and traffic requirements.
Three Things to Remember Before You Start
A reliable point to point WiFi link depends on clear line-of-sight, correctly matched hardware for the distance involved, and commissioning tests that confirm performance before you rely on it.
| Point | Details |
|---|---|
| Check LOS and Fresnel clearance first | Confirm an unobstructed path and Fresnel zone before buying hardware, not after mounting it. |
| Match hardware to real distance | Vendor range claims like D-Link's 20 km assume ideal conditions. Verify against your actual site. |
| Commission before trusting the link | Run ping, throughput, and SNR tests, and document results as Cisco's configuration example recommends. |
| Hire a pro for critical or long links | Djcengineering's site surveys and 98% first-visit fix rate reduce downtime risk on CCTV or business traffic. |
Where to Learn More About Point to Point WiFi Hardware
A few vendor resources are worth bookmarking if you're comparing hardware or want to understand configuration in more depth.
- D-Link's DAP-3712 product page details a long-range bridge with IP66 weatherproofing and built-in surge protection specs worth comparing against other hardware.
- EnGenius's ENH500-AX listing shows what a Wi-Fi 6 outdoor bridge with beamforming looks like on a spec sheet.
- Cisco's wireless bridge configuration example walks through authentication setup and link verification in more technical detail than most product manuals cover.
- Ruijie Reyee's explainer on point-to-point bridges is a solid plain-language reference on bridge modes and deployment basics.
Sources
- Point-to-point Wi-Fi bridging between buildings — the cheap and easy way
- Wireless Bridges Point-to-Point Link Configuration Example - Cisco
Recommended
- Commercial WiFi Design Brisbane: The Master Technician’s Guide to Business Connectivity | DJC Engineering
- Professional WiFi Design & Installation: Engineering Seamless Connectivity in SE QLD | DJC Engineering
- Commercial WiFi Systems: Engineering High-Performance Networks for QLD Businesses | DJC Engineering
- Professional WiFi Design vs Mesh: Why Your Gold Coast Home Still Has Black Spots | DJC Engineering