
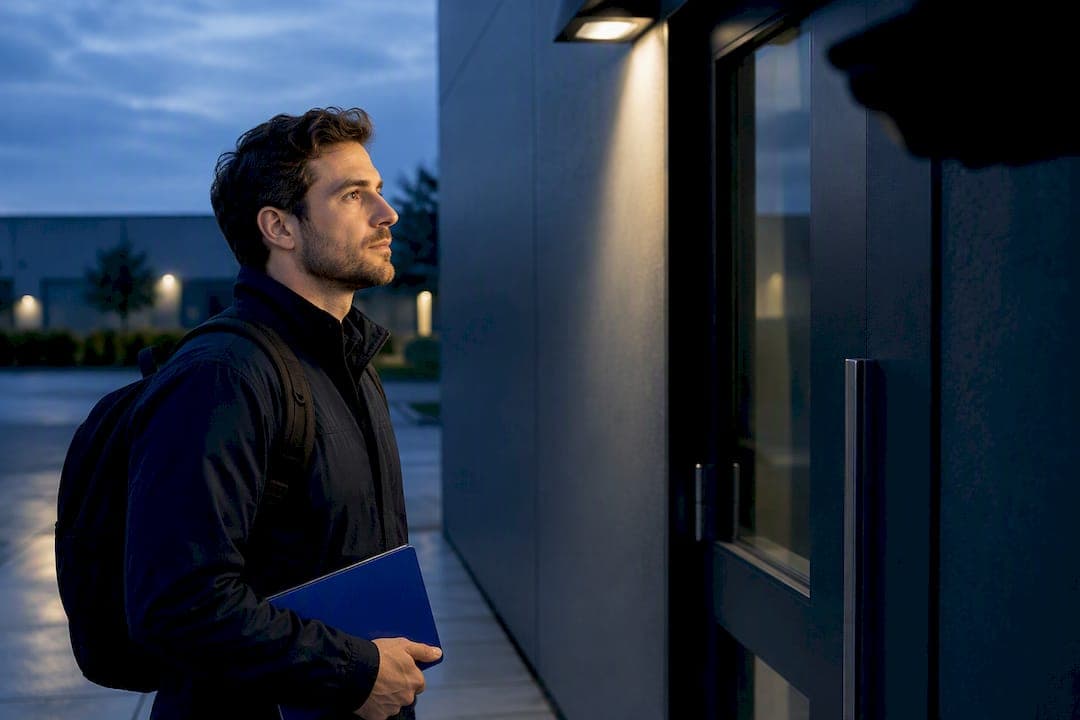
For reliable identification, aim for 20 to 30 lux vertical at face height, with CRI 80+, and keep the bright-to-dark ratio near 3:1. The single rule that matters most: light the subject from the camera's side, never from behind or opposite the lens, and spread that light across several lower-output fixtures instead of one flood. WDR and IR help fill gaps. They do not fix a badly aimed light source.
TL;DR:
- Achieving 20 to 30 lux vertical, face-height lighting with CRI 80+ and a 3:1 brightness ratio is essential for reliable identification in CCTV systems.
- Proper placement includes avoiding mounting fixtures opposite cameras and using multiple lower-output lights with overlapping coverage instead of single large floods to prevent hotspots.
- Infrared illuminators offer covert, longer-range options with 850nm providing more distance and visible red glow, while 940nm is fully covert but shorter-range.
- A dedicated light meter should be used for accurate readings, and all fixtures, driver types, and power circuits need documentation and proper sizing to ensure system reliability.
- Infrared cannot replace proper lighting to fix poorly aimed or insufficient lights; camera features like WDR cannot compensate for bad illumination.
Table of Contents
- What Are the Core CCTV Lighting Requirements?
- White Light vs. Infrared: Which Should You Use?
- Where Should You Place and Aim CCTV Lighting?
- What Electrical Specs Matter for CCTV Lighting?
- Can Camera Features Fix Bad Lighting?
- Site Survey Checklist for CCTV Lighting
- How This Plays Out on Real Installs
- Why Measured Lighting Design Beats Guesswork
- Get CCTV Lighting Designed and Installed Properly
- Sources
- FAQ
What Are the Core CCTV Lighting Requirements?
Vertical lux, not horizontal lux, is the number that matters for CCTV. A light meter sitting flat on the ground can read a healthy 40 lux while a person's face at 5 feet 6 inches off the ground sits in near darkness, because most fixtures throw light down and outward rather than across a vertical plane. Measure at face height, facing the camera, at the point in the scene where you actually need to identify someone. That's usually the furthest distance a person could reasonably be expected to stop, turn, or be recognized clearly.
The 20 to 30 lux target applies to identification tasks, where you need to recognize a specific individual's face or read a license plate. Detection, which just confirms something moved, needs far less. Recognition, where you can tell it's a person versus an animal but not who they are, sits somewhere in between. Installers who apply one blanket lux number across a whole site usually overshoot the budget on low-priority areas and undershoot it at the one door that actually matters.
Uniformity gets ignored more often than illuminance, and it causes more footage failures. A bright-to-dark ratio near 3:1 keeps the camera's auto-iris from slamming shut against a hotspot and crushing everything else into shadow. Blow past that ratio and you get a scene where the loading dock is a blown-out white patch and the fence line behind it is pure black, with nothing usable in either.
Color rendering and color temperature round out the spec sheet:
- CRI 80+ for anything requiring color identification, like clothing or vehicle color descriptions
- Neutral-to-warm white up to roughly 4000K rather than cold blue-heavy LEDs that wash out skin tone
- Lumens describe total output; lux describes what actually lands on the subject, so a 3000-lumen fixture with a wide beam angle at a 30-foot mounting height can deliver less usable lux than a narrower 1500-lumen unit aimed correctly
Pro Tip: A cheap lux meter app on a phone is not accurate enough for a handover report. Use a dedicated light meter, take readings at the actual face height and camera-facing angle, and log the numbers before you sign off the job.
White Light vs. Infrared: Which Should You Use?
The choice between infrared and white light comes down to one question: does the client need to identify a face or a plate at night, or just confirm that something happened? IR-only setups win on covert operation and range per watt, but they hand you a monochrome image with zero color data. White light gives you full color and doubles as a deterrent, but it announces the camera's presence and can spill onto a neighbor's property if it's not aimed carefully.
IR advantages:
- Works without any visible light source, useful where a business wants low visual footprint
- Delivers longer effective range for the same power draw
- Avoids light trespass complaints from adjacent properties
IR limitations:
- No color information, which weakens witness statements and insurance claims
- Reflective surfaces (wet pavement, glass, chrome) can bounce IR back into the lens
White light advantages:
- Full color capture for identification and evidentiary use
- Acts as a visible deterrent
White light limitations:
- Requires more careful aiming to avoid glare and trespass
- Higher running cost if left on continuously
A hybrid approach solves most real-world jobs. Run a low always-on baseline with motion-triggered white light boost for the higher output. That keeps energy use down, avoids lighting up the whole street every time a cat crosses the driveway, and still gives full color capture the moment something worth recording happens.
If you do run infrared, wavelength choice changes what you get. 850nm illuminators throw a faint red glow that's visible up close but deliver more range per unit. 940nm is fully covert to the naked eye but shorter range and slightly weaker on reflective or dark-colored subjects. For a driveway or loading dock where range matters more than discretion, 850nm usually wins. For a covert install where the client doesn't want anyone to know a camera is even running IR, 940nm is the better call. Our guide on night vision CCTV configuration covers how to match illuminator range to the scene depth you're actually working with.
Where Should You Place and Aim CCTV Lighting?
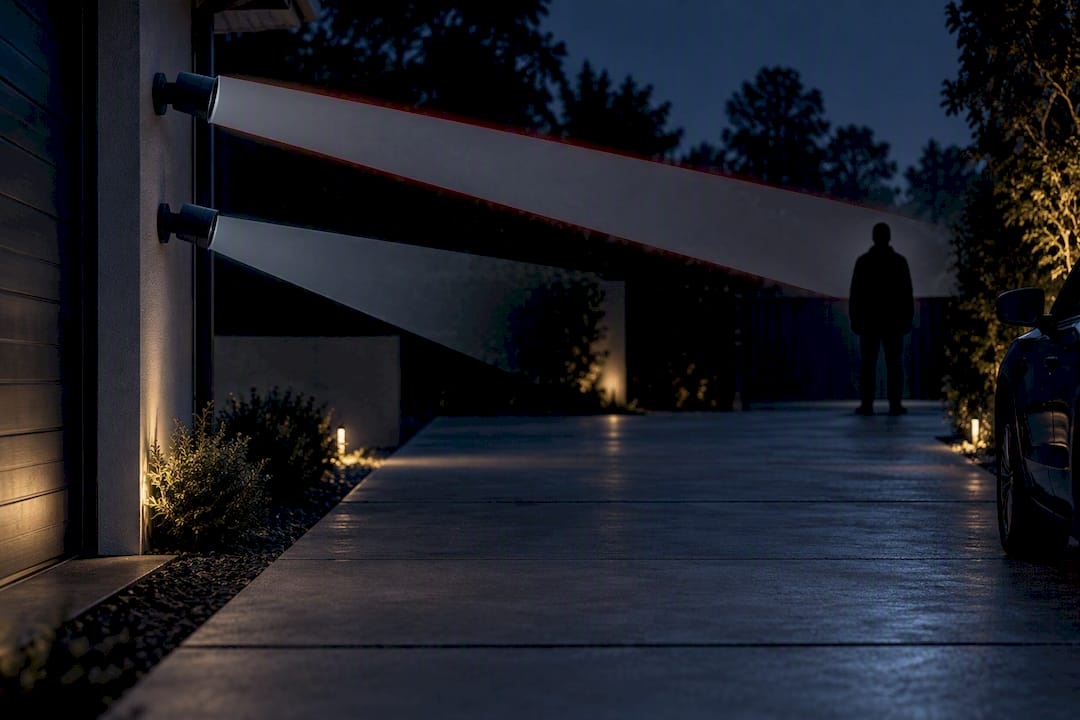
The most common lighting failure on a job site isn't insufficient light. It's a fixture aimed straight into the lens, or mounted opposite the camera so every subject shows up as a silhouette. Get the placement rules right and half of the imaging problems on a typical job disappear before you even touch a menu setting.
- Never mount or aim a visible light source directly opposite the camera. Anything facing the lens creates lens flare or forces the iris to compensate, killing detail everywhere else in frame.
- Aim fixtures from the same side as the camera, or from above it. This keeps the subject lit from the angle the lens is actually viewing, rather than backlighting them into a shadow.
- Use cross-illumination for faces. A single side-mounted light leaves one side of a face in shadow; a second fixture from a slightly different angle fills that gap.
- Match beam angle to the camera's field of view, not the other way around. A wide-angle camera paired with a narrow spot beam leaves the edges of frame dark and unusable.
- Favor several lower-output fixtures with overlapping coverage over one large flood. A single powerful flood creates a hotspot that forces the iris to close, crushing the rest of the scene into shadow, exactly the uniformity failure covered above.
- Mount at a height that resists tampering while keeping the beam angle usable. Vandal-resistant housings and protected cabling matter most on fences, loading docks, and any fixture within reach from grade.
- Shield fixtures to control spill. Cutoff optics keep light on the property and out of a neighbor's bedroom window, which matters both for good relations and for local obtrusive-light rules.
- Offset IR illuminators from the lens axis where possible, or angle them slightly, to reduce IR bounce off glass, wet pavement, and dome housings. A dome camera with a built-in IR ring is especially prone to bouncing its own light straight back at the sensor in fog or light rain.
Pro Tip: Walk the site at dusk with a flashlight held at the camera's mounting position and shine it toward every spot the camera covers. Anywhere that flashlight beam would blind someone looking back at you is exactly where you'll get flare or silhouette on camera.
Our camera placement guide covers mounting height and field-of-view alignment in more detail if you're setting the camera position at the same time as the lighting plan, which is how it should be done anyway.
What Electrical Specs Matter for CCTV Lighting?
Lighting specs on paper mean nothing if the electrical side introduces problems the eye can't see but the camera can. Flicker from a poor LED driver causes banding in footage that looks fine to a person standing there and looks like static interference on a recorded clip, especially at higher shutter speeds. Specify flicker-free, constant-current drivers at the design stage, not as an afterthought when the client complains about the footage.
Component-level decisions worth locking in before the job starts:
- Wire for a low always-on baseline plus a separate motion-triggered boost circuit, rather than one all-or-nothing switch
- Size a UPS or inverter to cover the baseline lighting load plus the cameras and NVR, not just the recording equipment
- Avoid feeding every fixture and camera from a single circuit; one breaker trip shouldn't kill the whole system's visibility
- Check PoE power budget carefully if lighting or illuminators are drawing from the same switch as the cameras, since undersized PoE budgets cause illuminators to underperform right when they're needed most
- Confirm IP and IK ratings on every external fixture. A fixture rated for indoor use that gets mounted under an eave will fail within a season
Document driver type, dimmer or boost settings, and a sample night capture in the handover pack. That single test image, taken at full dark, is worth more than any spec sheet when a client calls six months later asking why the footage looks worse than it did on install day.
Can Camera Features Fix Bad Lighting?
No, and this is where a lot of installs go wrong. Wide Dynamic Range processing helps a camera handle a scene with both bright and dark areas in frame, but it cannot recover a face that's been blown out by a floodlight glaring straight into the lens, and it cannot un-silhouette someone standing in front of a bright window. WDR is a supplement to correct lighting, not a substitute for it.
Sensor size, pixel pitch, and aperture all affect how much usable image a camera pulls out of low light, and they're worth knowing when you're choosing a camera to pair with a given lighting budget:
- Larger sensors and wider apertures gather more light per pixel, meaning you can hit usable footage at a lower lux target
- Smaller, cheaper sensors need more light to produce the same clarity, which raises your lighting requirements rather than lowering them
- On-board IR built into the camera housing is convenient but limited in range and prone to bouncing off nearby glass or wet surfaces; separate illuminators mounted off-axis avoid that bounce
Test every install at the worst-case time, meaning full dark and, if possible, in light rain or fog. Keep a sample capture from that test in the handover documentation, because a system that looks great at dusk can fail completely two hours later. Our technical guide to commercial CCTV systems covers camera-side specs that pair well with a properly lit scene.
Site Survey Checklist for CCTV Lighting
- Walk the site and mark every priority scene: entry points, plate-capture zones, and any spot with an identification requirement.
- Check adjacent properties for light trespass risk before you commit to fixture placement.
- Measure vertical lux at face height at each priority point and confirm the 3:1 uniformity ratio holds across the camera's field of view.
- Confirm no visible light source sits in frame or opposite any camera.
- Test for flicker at the camera's actual shutter speed, not just to the naked eye.
- Run an IR-bounce check against any glass, wet pavement, or dome housing in the scene.
- Trigger the motion-activated boost and confirm timing and coverage.
- Cut power to test UPS or backup behavior under the full lighting and camera load.
- Record a night capture at full dark for the handover file.
- Document every fixture type, driver model, dimmer setting, and UPS sizing decision in the handover pack.
How This Plays Out on Real Installs
On real jobs, the gap between a spec sheet and working footage is almost always in the details: a driver swapped for a cheaper unit, a UPS sized for cameras only, a fixture aimed before the camera was actually mounted. A professional approach ties lighting into the same survey as the camera and power design, backed by a high first-visit fix rate on installed systems.
Why Measured Lighting Design Beats Guesswork
Most over-lit sites aren't safer, they're just harder to review and more likely to draw a neighbor complaint. A surveyed, documented lighting plan built to the numbers above catches more usable footage than a floodlight bolted up without measurement, and it does it with less energy and fewer false alerts.
— Dylan
Get CCTV Lighting Designed and Installed Properly
A reliable alternative to guesswork installs for CCTV lighting in South East Queensland is to ensure every fixture, driver, and power circuit is scoped, installed, and configured by the same licensed team, with no subcontractors passing the job around and no finger-pointing when something needs adjusting after dark.

That means a survey that measures actual lux at face height rather than eyeballing it, NYX security camera systems paired with lighting sized to the scene, and UPS-backed circuits so a power blip doesn't leave you blind at the one moment footage matters. Data cabling and PoE network installation get planned into the same job when illuminators share power with the cameras, and every handover comes with documented settings and a real night capture, not a guess. If your current setup is either underlit or blowing out every clip with glare, book a site survey and get the numbers checked properly before the next incident exposes the gap.
Sources
- Security lighting and CCTV: Light your cameras properly | Doberman
- Video surveillance and CCTV system design field guide | Anvilfield
- CCTV Lighting guide | Raytec (iCatcher / Raytec PDF)
FAQ
What Are the CCTV Lighting Standards?
There's no single mandatory Australian standard dictating exact lux levels for private CCTV, but field guidance consistently recommends 20 to 30 lux vertical at face height with CRI 80+ for identification purposes. Shielding and cutoff optics are also recommended to control light spill onto neighboring properties.
Can CCTV Work Without Additional Lighting?
Yes, most modern cameras use built-in or separate infrared illuminators to capture usable footage in complete darkness, but IR-only footage is monochrome with no color detail. If you need to identify a face, vehicle color, or clothing description, white light in the 20 to 30 lux range is still necessary.
What Lighting Standards Apply to Security Cameras?
There is no single Australian standard mandating specific lux figures for private security lighting, so most installers follow field-tested vendor guidance rather than a formal code. The consistent recommendations across that guidance are 20 to 30 lux for identification, CRI 80+, and a 3:1 bright-to-dark uniformity ratio.
How Far Can CCTV See in the Dark?
Effective night range depends on the illuminator's wavelength and power rather than the camera alone. 850nm infrared delivers more range with a faint visible red glow, while 940nm is fully covert but shorter range, so the right choice depends on whether discretion or distance matters more for the site.
Does Djcengineering Provide CCTV Lighting Design?
Yes, Djcengineering scopes lighting alongside camera placement and power design as part of its NYX security camera systems installations across South East Queensland. Current pricing is available directly through a site survey request rather than published rate cards, since every job is scoped to the property.
Recommended
- Commercial CCTV Systems: The Technical Guide to High-Performance Surveillance in 2026
- Commercial CCTV Security: A Professional Guide to High-Performance Surveillance
- CCTV Camera Placement: Where to Mount Every Camera
- CCTV Installation Gold Coast: The Technical Checklist for High-Performance Security