
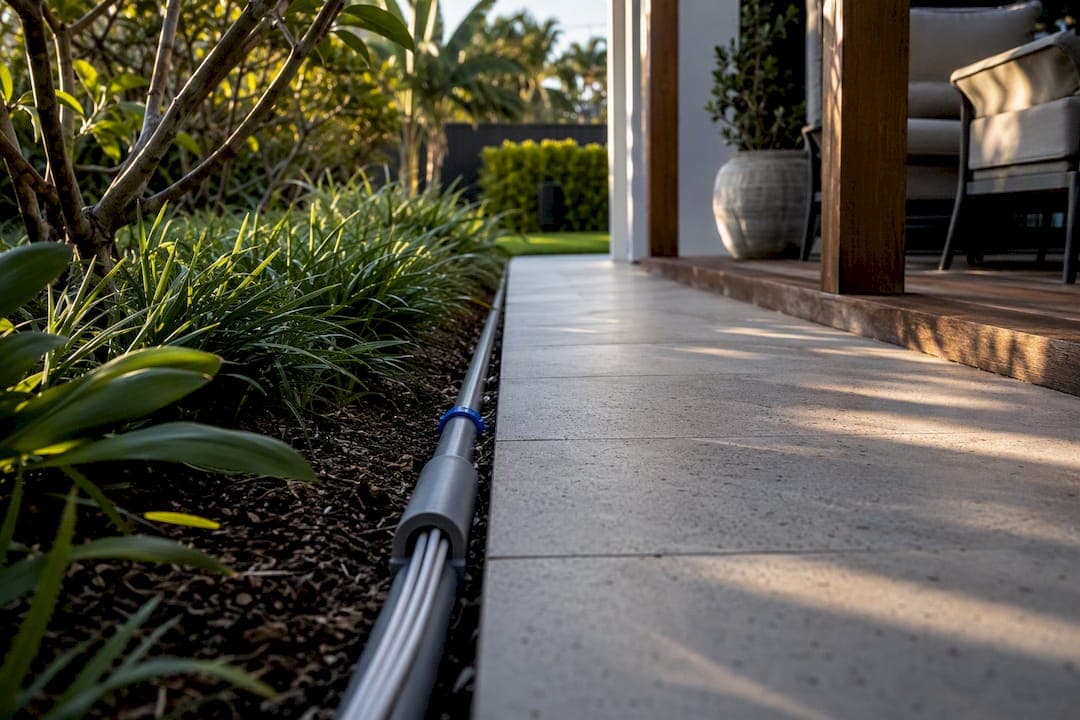
Use outdoor-rated or direct-burial speaker cable, sized to your run length, and protect every exposed foot with conduit or burial. For 8-ohm speakers, that generally means thinner wire for shorter runs, medium-thickness wire for moderate distances, and thicker wire for long runs. Get the polarity right at both ends and confirm your amplifier can handle the load before you power up.
TL;DR:
- Use outdoor-rated or direct-burial speaker cable with appropriate gauge based on run length and impedance, with thicker wire for longer distances.
- Properly route and protect cable by planning the path, avoiding AC wiring, sealing pass-throughs, and burying cable in a shallow trench or conduit as needed.
- Ensure correct polarity at both ends, label wires, and use weatherproof junction boxes for splices to prevent moisture damage and polarity errors.
- Keep amplifier load impedance within manufacturer specifications, avoiding wiring multiple speakers in parallel that could overload the amplifier.
- Conduct step-by-step testing with low volume, polarity checks, and continuous inspections after storms, or hire professionals for complex or code-compliant installations.
Table of Contents
- What Cable and Gauge Do You Need for Outdoor Speaker Wiring?
- How Do You Route and Protect Outdoor Speaker Cable?
- How Do You Terminate and Weatherproof Speaker Connections?
- How Many Speakers Can One Amplifier Channel Handle?
- How Do You Test and Troubleshoot Outdoor Speaker Wiring?
- When Should a Professional Handle Your Outdoor Audio Install?
- What Do DIYers Get Wrong Most Often With Outdoor Wiring?
- Get a Site Survey Before You Commit to a Wiring Plan
- Sources
What Cable and Gauge Do You Need for Outdoor Speaker Wiring?
Standard indoor speaker wire will not survive a season outside. UV exposure cracks the jacket, moisture gets into the copper strands, and corrosion quietly kills your sound quality months before you notice a problem. Outdoor-rated cable uses UV-stabilized PVC or polyethylene jackets built to resist that breakdown, and if you're burying it, direct-burial rated speaker cable goes a step further with a solid-core, moisture-sealed construction designed to sit underground without a conduit at all.
Gauge matters just as much as jacket material. Thicker wire (a lower AWG number) carries current with less resistance, which matters over distance because voltage drop increases as wire gets longer and thinner. For an 8-ohm speaker, the practical thresholds run something like this:
- 16 AWG: fine for short runs, typically under 50 feet
- 14 AWG: the safer bet for medium runs in the 50 to 100 foot range
- 12 AWG: worth it once you're past 100 feet, or running to 4-ohm speakers at any real distance
Statistic Callout: A 4-ohm speaker draws more current than an 8-ohm speaker at the same power, which is why low-impedance outdoor speakers need a noticeably thicker gauge than the same run would require for higher-impedance units.
If you're on the fence between two gauges, size up. The cost difference between 14 AWG and 12 AWG cable is minor compared to the labor of redoing a buried or concealed run later, and thicker wire gives you headroom if you add speakers to that zone down the track.
How Do You Route and Protect Outdoor Speaker Cable?
Plan the whole route before you touch a drill. Sketch where the amplifier sits, where each speaker mounts, and the shortest sensible path between them, keeping runs as short as practical and away from anything carrying mains power. Running speaker cable parallel to AC wiring for any real distance can induce an audible hum, and electrical safety guidance around powerlines applies the same logic at a smaller scale: keep low-voltage and mains wiring separated wherever the route allows it.
For the inside-to-outside pass-through, the standard approach works like this:
- Choose your exit point from inside, checking first for hidden plumbing or wiring behind that section of wall.
- Drill from the inside out at a slight downward angle, so any water that reaches the hole drains outward rather than pooling against the house.
- Feed the cable through a low-voltage bushing, not a bare hole. Bare masonry or timber edges will eventually saw through the jacket.
- Seal both the interior and exterior sides with outdoor-rated silicone once the cable is in place.
Burying cable is a legitimate option if you're using true direct-burial rated wire. A shallow trench, roughly 6 to 8 inches deep and clear of irrigation lines, is usually enough for a garden or patio run. Standard speaker cable, on the other hand, needs rigid or flexible conduit if it's ever going underground or staying exposed against a wall. Any junction outside should sit inside a weatherproof box, never a bare splice under a deck or eave.
Pro Tip: Leave a service loop of 12 to 18 inches at both the amplifier end and each speaker location. It costs you almost nothing during installation and saves you from splicing new cable in if you ever need to move a speaker or swap connectors.
How Do You Terminate and Weatherproof Speaker Connections?
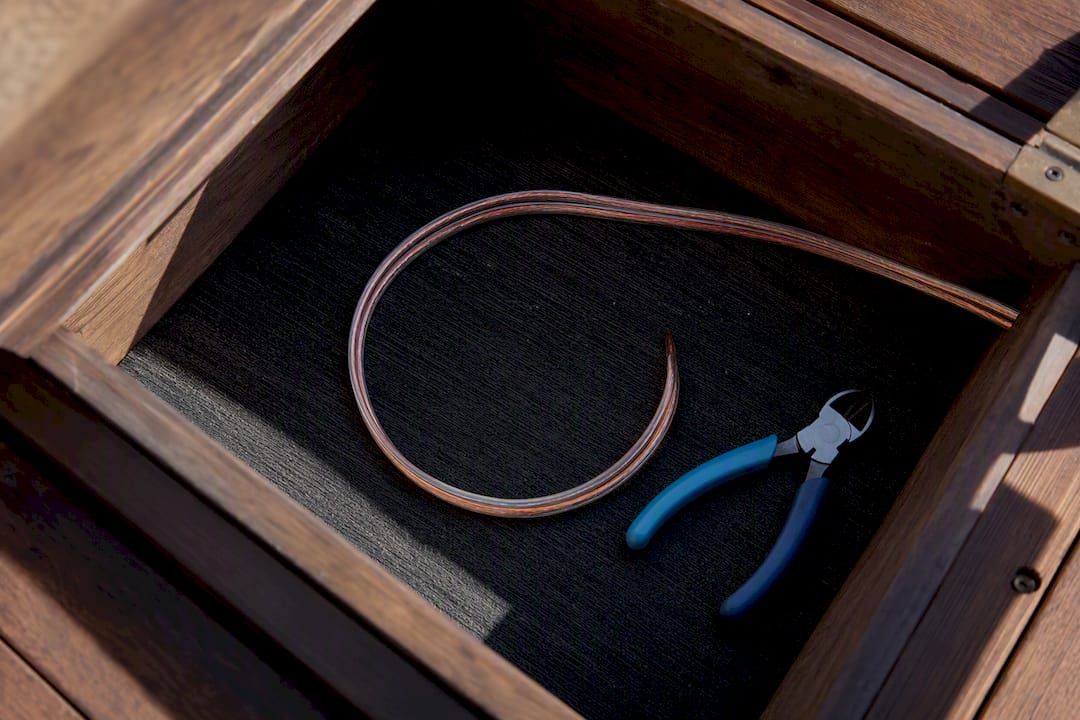
Polarity has to match at both ends: positive to positive, negative to negative, on every single speaker. Get it backward on even one unit and you'll get phase cancellation that shows up as thin, weak bass, even though everything technically "works." Most outdoor-rated cable has a ribbed or striped conductor to help you keep track once it's out of the packaging, but marking both ends with tape as you run it saves a lot of guesswork later.
For the actual connection, you've got a few realistic options:
- Banana plugs: the fastest to swap and troubleshoot, best for amplifier-side connections you might need to access again
- Spade lugs: a solid middle ground for screw terminals that see occasional adjustment
- Bare wire with screw terminals: fine for permanent installs, but strip only what's needed and twist strands tightly to avoid stray copper shorting the connection
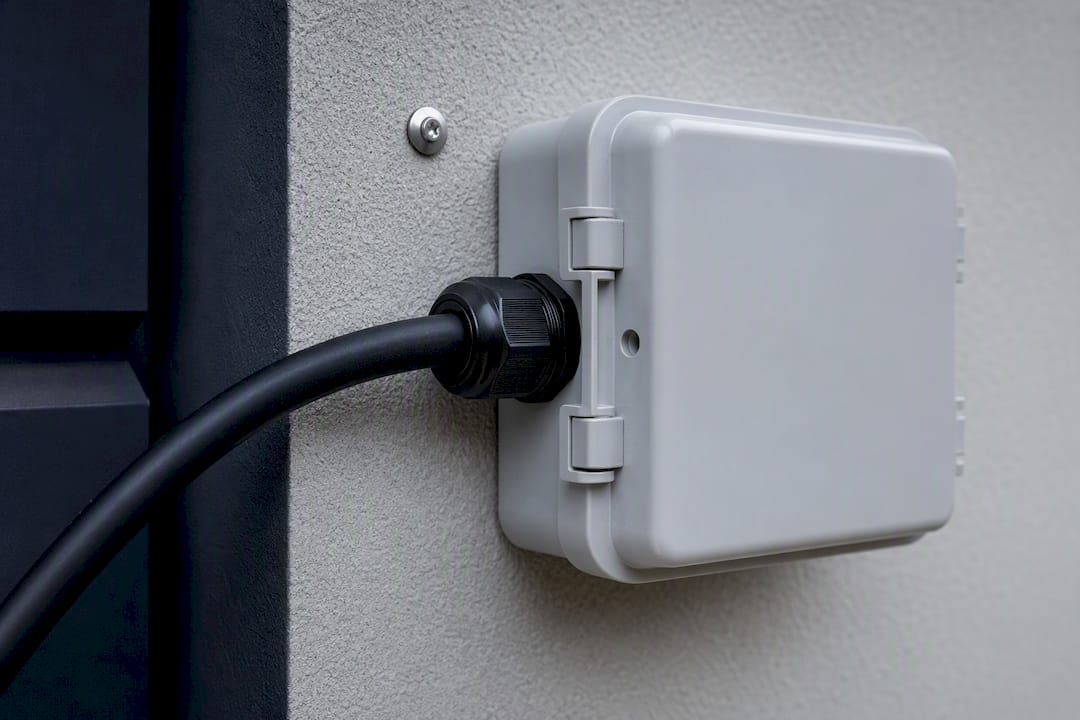
Any outdoor splice needs to happen inside a rated weatherproof junction box, never as an exposed twist-and-tape job. Heat-shrink tubing over the soldered or crimped joint, followed by a bead of silicone sealant around the box entry points, keeps moisture out for years instead of months. And never pinch cable in a door or window jamb to route it. The strands fatigue and snap from repeated flexing long before the jacket shows any visible wear.
How Many Speakers Can One Amplifier Channel Handle?
Every amplifier lists a minimum impedance load, usually 4 or 8 ohms per channel, and wiring multiple speakers to a single channel changes that number. Two 8-ohm speakers wired in parallel present a 4-ohm load to the amp, and adding a third pushes it lower still. If your amp's minimum rating is 8 ohms and you wire two 8-ohm speakers to one channel, you're asking it to drive a load it wasn't built for.
Statistic Callout: Wiring two 8-ohm speakers in parallel reduces the impedance the amplifier sees, which is why matching speaker count to amp specs matters more outdoors, where zones tend to multiply fast.
Watch for these signs you've overloaded a channel:
- The amp feels hot to the touch after normal listening levels
- Sound clips or distorts well before you'd expect at that volume
- The amp shuts down or goes into protection mode
If you're covering multiple zones, a dedicated multi-channel amplifier or a set of impedance-matching volume controls is the safer path than daisy-chaining more speakers onto a channel that's already at its limit. Multi-zone setups also benefit from planning covered in DJC Engineering's approach to distributed audio.
How Do You Test and Troubleshoot Outdoor Speaker Wiring?
Once everything is connected, work through the checks in order rather than jumping straight to full volume:
- Power on at low volume first, and confirm each speaker produces sound before adjusting anything.
- Play a stereo test track and listen for correct left/right separation across every zone.
- Check polarity with a 9V battery touched briefly to the wire ends. The cone should push outward, not pull in, if the polarity is correct.
- If bass sounds thin or hollow across the whole system, suspect a reversed connection somewhere before assuming a speaker fault.
- Use a multimeter to check continuity on any run you suspect, and isolate faults by swapping one speaker's connection with a known-good run.
Pro Tip: After the first heavy storm season, walk the property and check every exterior junction box and pass-through seal. Silicone shrinks and cracks over time, and catching it early is a five-minute fix instead of a rewiring job.
When Should a Professional Handle Your Outdoor Audio Install?
Multi-zone systems, concealed conduit runs, or anything that needs to meet compliance standards for a rental or commercial property are where a DIY approach starts to run out of runway. Djcengineering's installs typically include:
- A site survey to map cable routes before anything gets drilled or trenched
- Concealed cabling engineered around a property's structure rather than routed around obstacles after the fact
- Accredited installation backed by a 98% first-visit fix rate, with no subcontractors on the job
- Final commissioning and documentation, so you know exactly what was installed and where
Projects like the Gold Coast alfresco AV build show what a fully engineered outdoor run looks like end to end.
What Do DIYers Get Wrong Most Often With Outdoor Wiring?
Undersized gauge on long runs is the most common mistake I see, followed closely by polarity errors nobody catches until the bass sounds off. The fix for both is boring but effective: size up your wire, label both ends before you bury or conceal anything, and use proper bushings at every pass-through. Those three habits alone prevent most of the callbacks installers deal with.
— Dylan
Get a Site Survey Before You Commit to a Wiring Plan
If your outdoor audio project involves more than one zone, concealed conduit, or a property where a mistake means tearing into finished walls, Djcengineering handles the parts of the job where a DIY approach gets expensive to undo. That means an engineered cable route mapped before anything gets drilled, structured cabling installed without subcontractors, and a commissioning process that leaves you with documentation instead of guesswork.

Whether you need a full outdoor audio system designed from scratch or just want a second opinion on a run you've already planned, Djcengineering's networking and structured cabling services cover the site survey, the install, and the sign-off. Request a quote or a site visit and get a route mapped out before you touch a drill.
Sources
- TasNetworks — safety: staying a safe distance from powerlines
- Kennedy Design+Build — How to install outdoor speakers
- GEARit — How to calculate the correct gauge of outdoor speaker wire
- TechyConcepts — How to install outdoor speakers: Step-by-step
- Crutchfield — In-wall and ceiling speaker placement and installation